Monday 28 March 2011

Lady Justice: Malifaux Gang Part Two

Greetings, sorry for my absence. However, I have not be too idle, (that said, I've not exactly done much!) Those of you who have been following for a while will know that I posted the beginning of my Malifaux gang up a long while ago, painted one death marshal and then they kind of disappeared. Well, they are back!

First a small explanation as to why they are back. I stopped painting them because I very quickly realised when i moved house that I had no one to play Malofaux with. However, soon I am moving back to Swindon and have heard from several people saying they are going to look into starting it, well that's all the inspiration I needed to get these back out.

So, here she is, the Lady Justice, commander of the Death Marshals, head of the anti-resurectionist faction of The Guild.


Lady Justice
The Lady Justice is the only member of the death marshals to be seemingly unaffected by powers they utilise against the reserectionists threat. Most marshals suffer from a ghoulish appearance, gaunt almost white flesh and dark sunken eyes are the earliest signs of these effects. The cause is believe to be the magical powers used by the marshals to capture and 'bury' reserectionists.

In terms of painting I had already decided that I want colour kept to a minimum, Lady Justice and The Judge being the only two exceptions. For this reason, I painted all his clothing as black leather, this some what suits both the model and idea of her out at night, hunting down the undead creations of the insane resurectionists. For this, I simply washed Chaos Black with Badab Black and that's what it done, the shine was natural, no varnish required.

The red gloves were a tricky one. I wanted them to stand out, but not like she was some kind of children's clown. For this reason i went for a similar red as to the one I use on my Custodes. Dark Flesh mixed slowly into Gory Red, washed with Baal Red. I then used the Vallejo Game Varnish (gloss) to help them stand out from the rest of the model's leather work.

The next big section to tackle was her hair. This was probably the single biggest part of the model and wasn't one I was all that sure about to start with. In all the source art she is a fiery red head and I really didn't want to change this, but had only every painted red hair on dwarf slayers which were a very extreme orange and so not really suitable for this. In the end, after a few bad test models, i came up with a fairly simple by effective way of painting almost realistic red/ginger hair.

Basecoat the hair Gory Red
Wash with Devlan Mud (Very Very Heavy)
Drybrush Gory Red over the hair (Heavy)
Drybrush Hot Orange over hair (Heavy-Medium)
Drybrush Hot Orange/Orange Fire 75/25 (Medium)
Drybrush Hot Orange/Orange Fire 50/50 (Light)

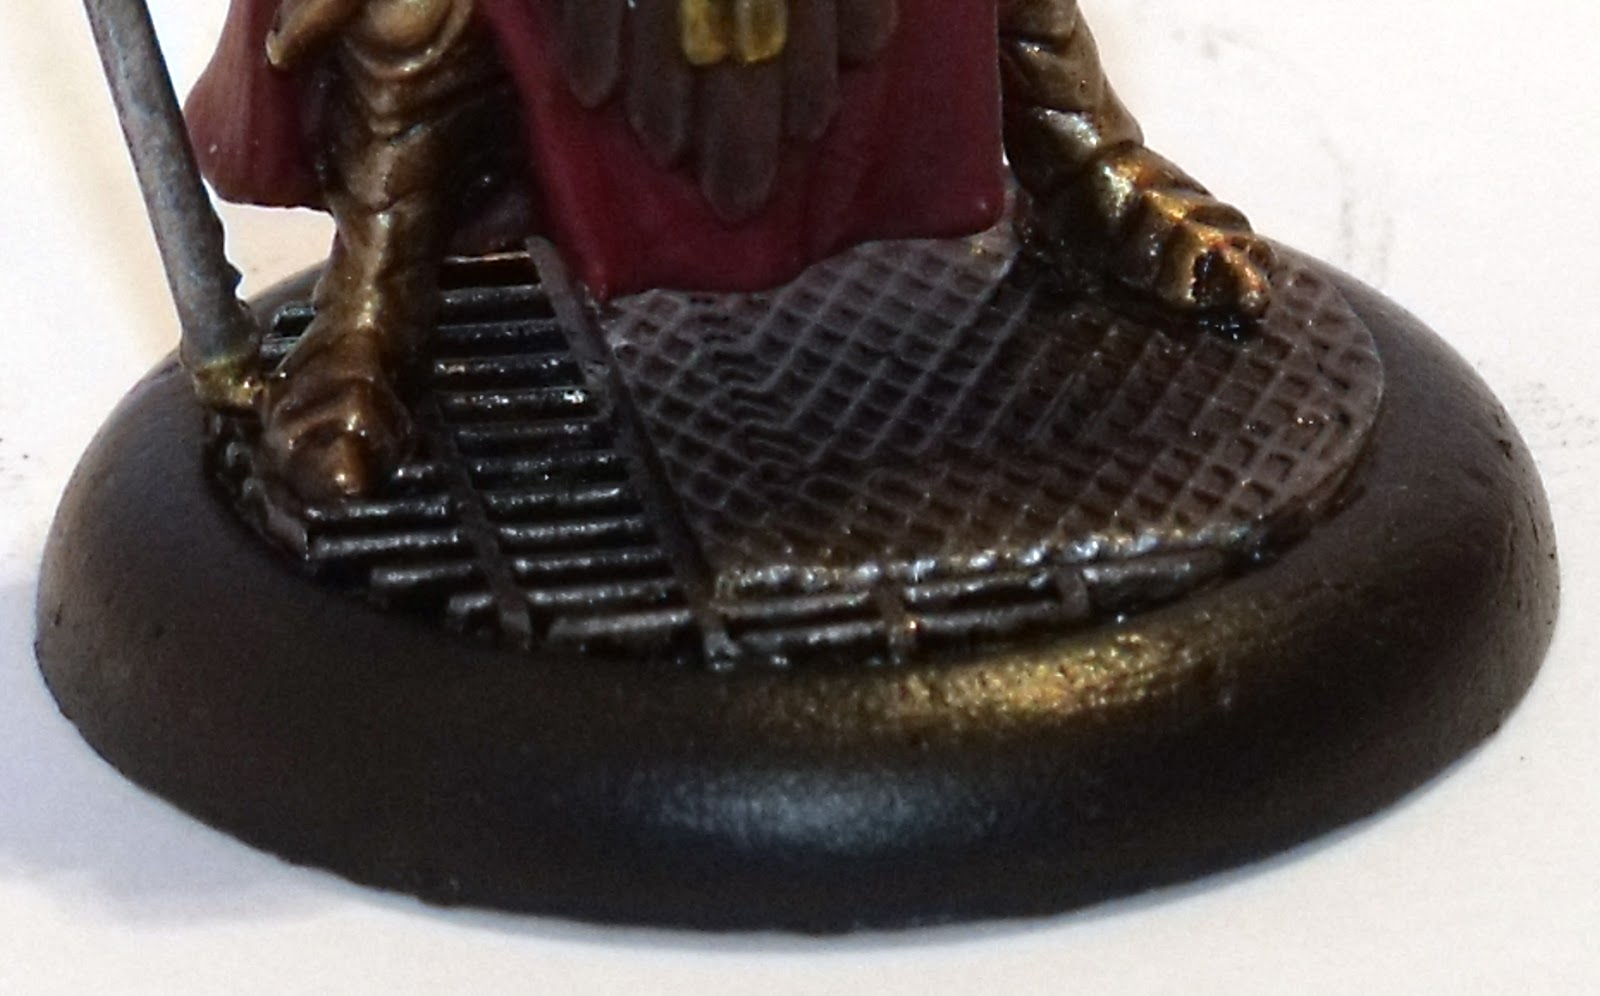
After that it was really just a case of painting in the brown leather in my usual way then picking out all the little metal bits and bobs. Then finally, came the base.

Most of the base was done as before, a basic red brick effect across the paving stones, this time with a small inlaid metal grill for the drain. Then for the fun bit, the water!

Now when I say fun... Water is one of those things I find it extremely difficult to paint. However, I decided not to just after putting so much effort into her that i didn't want to let the models down on the base. So I mixed up slowly from Story Blue through Magic Blue and Lightning Blue and up to White throwing in a wash every few layers to help add some depth. Over all I'm not unhappy with it, but there is definite room for improvement.

Well, that's about all for this one. As always comments, critique and suggestions are more than welcome, we only learn through others.

Until next time, if you do see a roaming zombie or ghoul in your area do attempt to deal with it yourself! Lock your doors, bar your windows and call for The Guild!

Friday 11 March 2011

Adptus Custodes: First Envoy Finished!

Greetings. First, sorry for the gap in posts, I've been without the internet for a while but all is ok now and posts should be back on a fairly regular basis.

A while ago I started an Adeptus Custode project and now, the first envoy is done! I just thought I would spend some time to go through the colour scheme I have chosen for the project. But frist, here he is in all his imperial glory!


Custode Envoy

Gold
Being as most of this model is made up of gold armour it was soemthing that had to be just right. So, I looked to one of the basics posts on From The Warp.
1. Undercoat black
2.Paint all armour with Tin Bitz
3.Wash with Devlan Mud
4. Stipple Shining Gold (Heavy)
5. Stipple Shining Gold + Mithril Silver 75:25 (Medium)
6. Stipple Shining Gold + Mithril Silver 50:50 ( Medium - Light)
7. Stipple Shining Gold + Mithril Silver 25:75 (Light)
8. Stipple Mithril Silver (Extra Light)
This style requires reference material. You need to look at what gold really looks like under directional light.

Custode Envoy
Red
Red is the secondary colour of this scheme. I really didn't want a bright red (blood red) as it wouldn't really fit with the idea of the custodes. I've always seen them as quite a subtle organisation, working in the shadows (they are invisible which makes that easy I guess). So i decided to go with quite a dark rich red instead.
1. Paint the robes in Dark Flesh
2. Wash the robes in Devlan Mud
3. Paint the robes in Dark Flesh + Red Gore 75:25
4. Paint the robes in Dark Flesh + Red Gore 50:50
5. Paint the robes in Dark Flesh + Red Gore 25:75
6. Paint the robes in Red Gore
7. Wash 3 times with Baal Red
This was also used on the weapon casing of the Gaurdian Spear.


Custode Envoy
Leather
While not as dominant as the other components of the model I didn't want ruin the whole model in such a simple thing as leather.
1. Paint all leather in Dark Flesh
2. Paint all leather in Tanned Flesh
3. Wash with Devlan Mud
4. Paint with Tanned Flesh
5. Paint with Dwarf Flesh
6. Wash 2 times with Devlan Mud
Simple but i think you will agree, very effective.

Basing
The bases that i bought from Fenris Games are really really awesome. The detail is great and with almost no air bubbles! While the DS style bases are frowned upon by some tounament organisers I can honestly say I don't care as they really make models like this shine.
1. Paint all raised areas with boltgun metal
2. Wash with Devlan Mud
3. Drybrush Chainmail
4. Wash with Badab Black
5. Paint the rim of the base with Chaos Black

So thats the model done and overall, I am pleased. Hopefully I will be getting some more of these guys done very soon.

All comments and suggestions are welcome.